8 secrets of a good milking routine for the production of high-quality milk
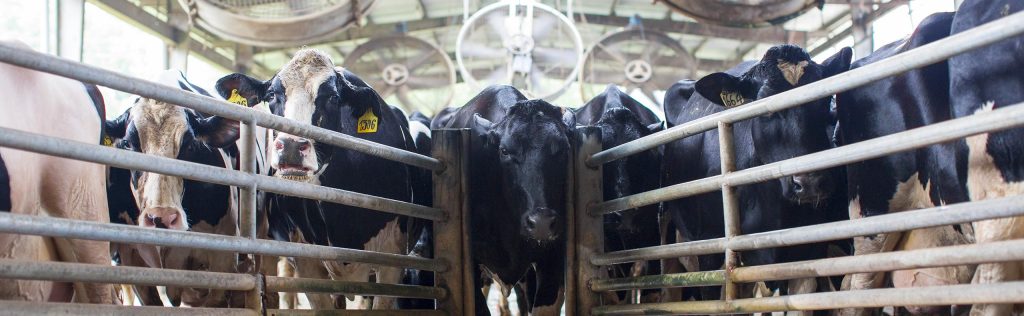
You may sometimes feel tempted to «skip» some parts of the sequences of your milking routine in order to save time. This temptation should be AVOIDED at all costs! What may seem like a harmless shortcut will, almost always, turn out to be a further loss of time and money: incorrect milking methods not only increase the spread of mastitis, but also reduce the level of production. Being aware of this fact should motivate you to resist these shortcuts.
Below you can find eight essential tips which guarantee a successful milking routine.
1. Gloves
Germs are much less likely to stick to gloves as they would to the skin of the folds and callouses of bare hands becoming a potential vehicle for the spread of contagious mastitis. The gloves can be made of nitrile or in latex, as long as they are disposable and are rinsed and disinfected frequently (e.g. with peracetic acid).
There are 3 reasons why we MUST use gloves during the milking routine:
- to reduce the spread of contagious pathogens like S. aureus, S. agalactiae, Mycoplasma bovis and Prototheca.
- to protect the operators from zoonoses (illnesses transmitted from animal to humans and vice versa)
- for personal hygiene.
2. Forestripping
Throwing away the first jets (3) stimulates “the oxytocin milk let-down reflex”, excludes the part of the milk that contains the largest quantity of somatic cells and allows for the identification of abnormalities, (such as milk clots).
Statistically, more than 50% of clinical cases of mastitis are of type 1, meaning that the only symptom they present is altered milk. Cows with clinical mastitis have to be identified in order to receive the right treatment in time. In order to achieve a good milking routine, never check for milk abnormalities on your gloves on your gloves, but check the squirts on the parlour floor. If you’re fighting against contagious mastitis, avoid forestripping on the cows’ hooves; if possible, use a special cup.
3. Pre dipping
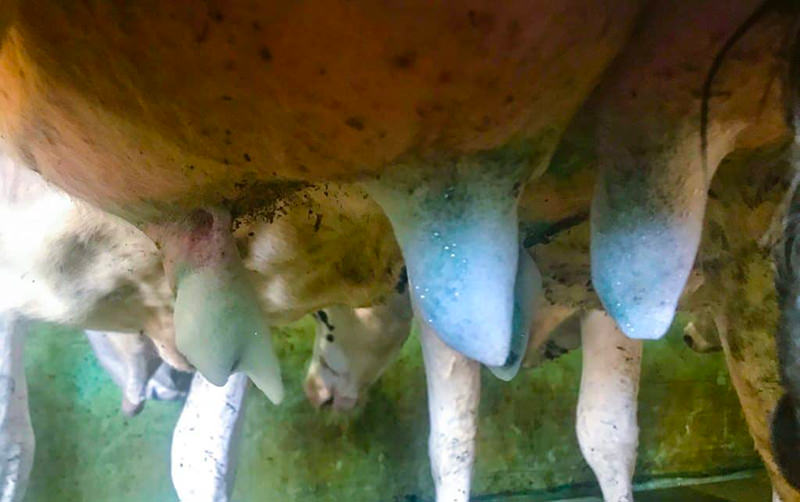
Any effective milking routine must include and guarantee a high level of udder hygiene. Dirt found on the teats contains germs capable of causing mastitis. Pre-dipping kills these germs, (if it includes disinfectant!) but this procedure must be done BEFORE the cow is milked. This improves the quality of the milk and helps to avoid potentially dangerous pathogens from being sucked back up into the udder, (known as impact mastitis due to “reverse flow”) due to, for example, a faulty milking system or air leakage resulting from cluster slippage.
DO NOT wash teats with water: in addition to not being germicidal, water actually helps the spread of germs between the teats and the milking cluster.
Among our customers, the farms with the best milking routines suggest pre-dipping with CLOREX FOAM, TEAT FOAM(ready-to-use liquid products) BIOXY FOAM, (bicomponent products to be mixed 1:1).
4. Drying
Use a different, clean and dry towel for each animal, which can be made of either paper or cloth (the latter to be washed at 90° and well-spun). Dry the teats, trying to use a clean part of the cloth for each different one. A key part of this routine is the careful scrubbing of the teat ends, always using a clean spot of the towel.
5. Attaching the milking units
Make sure the units are well-balanced and placed in a perpendicular position to the floor. If the units are incorrectly placed, the clusters could slip down, resulting in air-leakage into the system. If this happens, mastitis–causing microorganisms could be pushed up into the teat channel and cistern, potentially causing infection.
In a good milking routine, the timely attachment of the milking units is equally important. In order to obtain as much milk in the shortest time possible, a lag time of 90-120 seconds between pre-milking and unit attachment should be respected.
6. Post dipping
First and foremost, it is really important to understand the benefits of post-dipping. Post dipping is our number one ally against contagious forms of mastitis! Therefore, the teat must have TOTAL and complete coverage preferably by being fully immersed in the disinfecting solution inside the dipping cup. Spraying works just as well if performed correctly, but consumption levels are 30-40% higher.
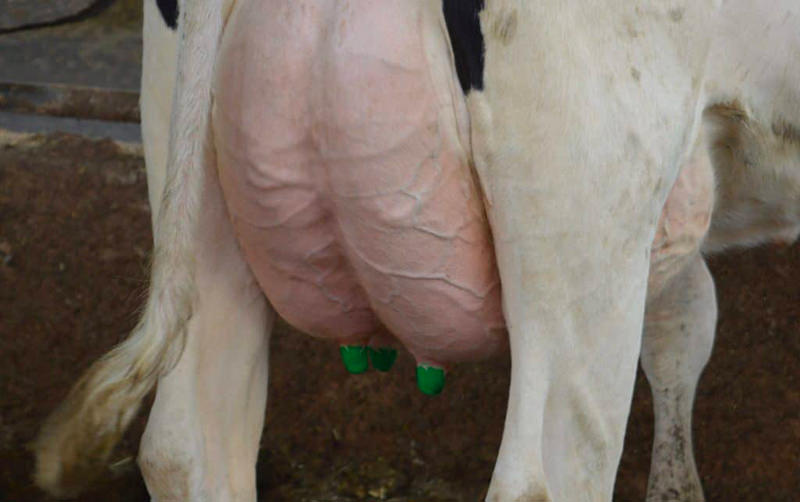
In a good milking routine, post dipping should be carried out as soon as possible after unit detachment. At the end of milking, dipping cups must be left clean and dry. Some experts also advise that the leftover product inside the dipping cup should be discarded, especially if the cup does not have a “non-return valve”.
To improve your milking routine, we advise to use only products that have been thoroughly tested and which have shown to be effective, such as TRIS ACTIVE P, DYNAMIC FILM, BUFFALO DIP (ready-to-use, film-forming products)BIOXY SHIELD, (bicomponent products to be mixed 1:1).
7. Keep calm!
All the staff involved in milking must contribute to ensuring a calm and quiet environment for the cows, even when they are being brought towards the holding pen. If a cow is frightened, upset or stressed, it will produce adrenaline, a hormone that blocks the oxytocin “milk let-down reflex” which is responsible for the release of the milk, negatively influencing “unit on time” and overall milk harvesting.
8. Remain standing after milking
When the milking is finished, provide the cows with access to a drinking trough filled with fresh, clean water (guaranteeing the necessary space per animal) and enough food available in the food trough. By doing this, the cows are motivated to remain standing while eating, allowing for teat-sphincter closure and thereby reducing the risk of bacteria invasion into the udder. Keep in mind that the teat channel remains open, on average, for about 1 hour after milking (from 30 mins to 2 hours). A healthy sphincter (without signs of hyperkeratosis) is the first line of defence against the various forms of mastitis!